
As promised during my last modeling post about the Gundam Blitz, I worked on my new 1/35 scale M1A1 Abrams during the Lenten break. I had a lot of fun and the entire thing was relaxing and somewhat therapeutic.
The Abrams is the main battle tank of the US armed forces and saw action in Iraq in 2003. The kit is from Academy of Korea and is very nicely detailed with sharp seams and a good fit.
As a bit of trivia, no US M1A1 Abrams was ever destroyed by opposing enemy fire. This beast is the most powerful tank in the world and it’s one of the reasons why I have to have it for my collection, moreso, it being one of my first detailed modern military armor to be assembled.
Work in progress reports and pics after the jump…
The Project
To make it simpler (and to be a little bit organized), I divided the project into major components below
- Assembly – which included sanding, filing, putty and adjustments
- Primer
- Adjustments – the primer will let you see some flaws which you can then “adjust” via sanding or putty later
- First base coat (desert yellow)
- Pre-shading with Nato Brown
- Second base coat (with shading now)
- Future (floor wax) coat (clear coating to prepare for the decals and wash)
- Decals
- Wash 1
- Wash 2
- Paint chipping and battle damage
- Rust Effects
- Sand effects
- Dusting
- Final flat coat
As you can see, there are 15 steps. Each step has a sub-task to it, whew! All-in-all, the project took around 2 weeks from start to finish.
Now, on the progress reports.
Reference Photos
If you want to have a realistic finish on your models, it pays to do a little bit of research. In the old days, you’ll have to buy reference books, magazines, materials or perhaps visit a library. Today, the Internet means that everything you need right is right in your fingertips. That’s one of the advantages of doing this hobby together with technology.
So I yanked out a little elbow grease and did some searching together with my good friend, Google. Here are some of the reference photos that I came up with.
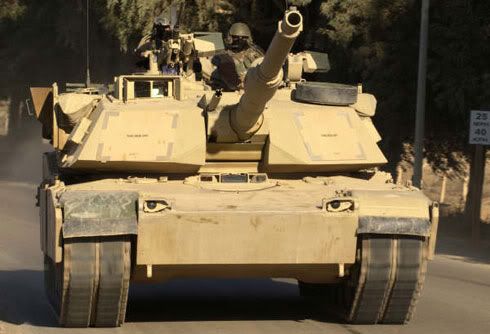
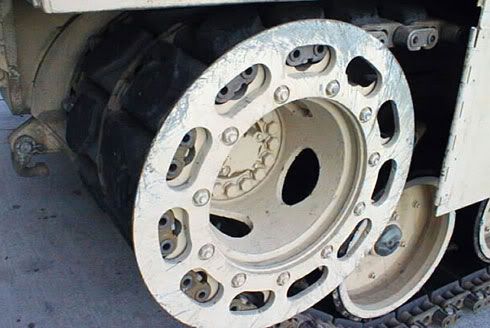
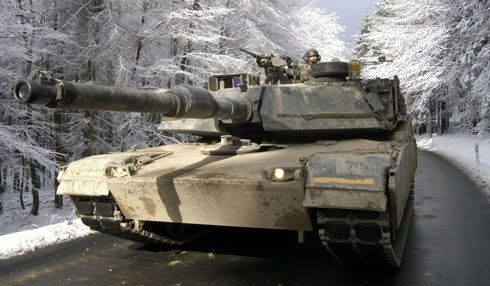
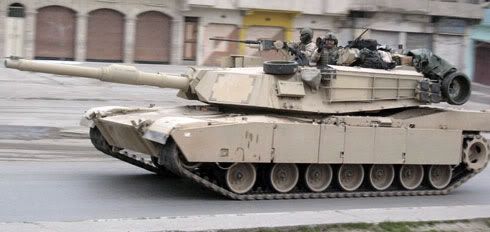
If you notice, you will see the Iraqi desert sand is very unforgiving, it cakes and coats almost everything… I’ll have to take that into account when doing the finishing details for the kit. There’s also an antenna, which doesn’t come with the box. I’ll have to scratch-build that later.
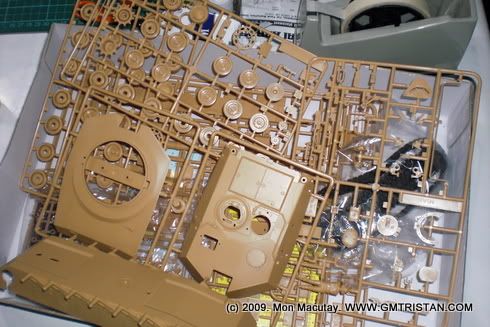
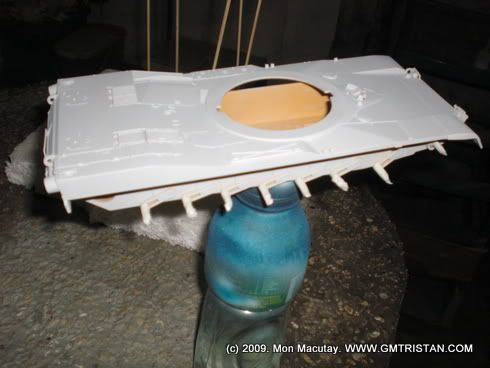
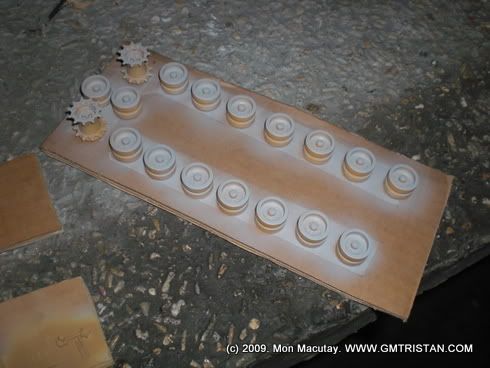
Assembly
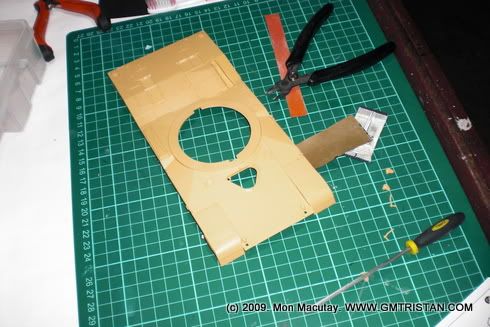
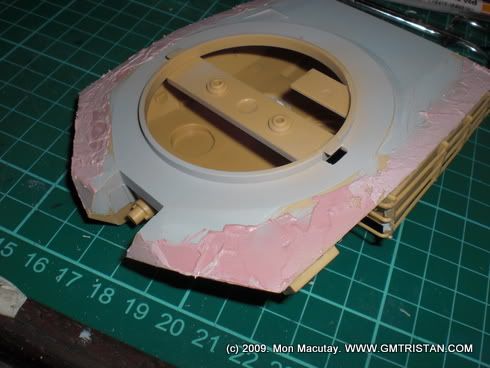
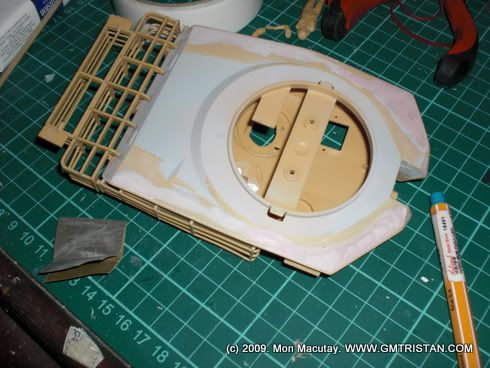
Assembly is straight-forward with some flash here and there. All in all, the kit was finely detailed and the instructions were easy to follow. There were some problems on the fit of the top-bottom of the turret assembly but nothing that a little putty and sanding won’t solve.
Here are some pics
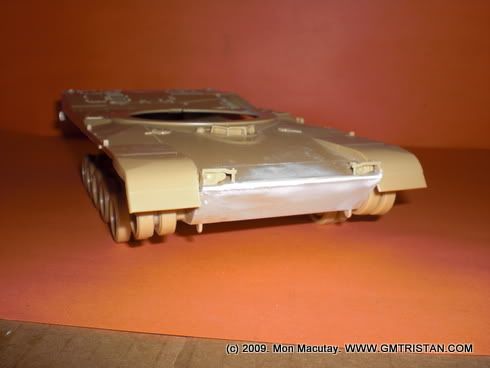
Priming Time
The kit, now fully assembled will be primed with Mr. Surfacer 500.
Below is the seam-fit problem of the turret assembly. I used polytuff (or “masilya” for automobiles), let it dry overnight and then sand it away. You can see the ‘before and after’ photos below:
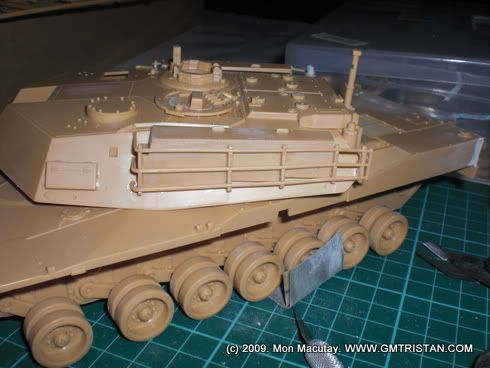
Base Coat and Pre-Shading
Once everything was cool, I then airbrushed the base coat of Tamiya Desert Yellow. It still looks dull and flat at this point and the details won’t stand out (yet). That’s ok… that’s what the other stages of the project are for, washing and weathering later.
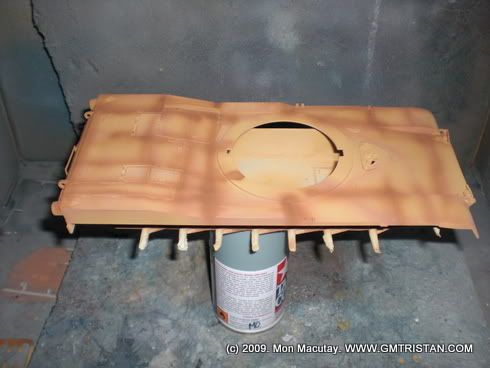
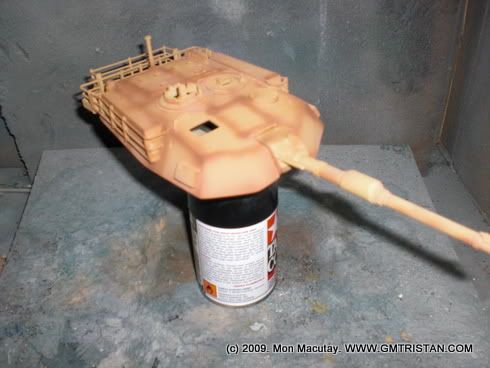
Meanwhile, once the Desert Yellow was allowed to dry overnight, I did a little bit of pre-shading with Nato Brown. Pre-shading is a simple painting technique where you airbrush the darker shade (over panel lines and divisions) and then spray over a lighter shade of the base coat to bring out highlights. The final output is a graduated (or gradient) pattern of light, dark and shadow. Cool, huh?
Below are the pics with the pre-shaded Tamiya Nato Brown;
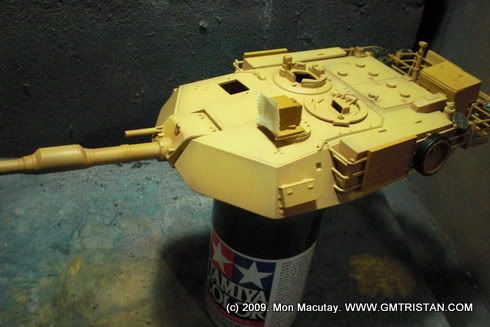
Second Base Coat (shading)
Here’s the second spraying of a slightly lighter hue of Desert Yellow (mixed with white)…
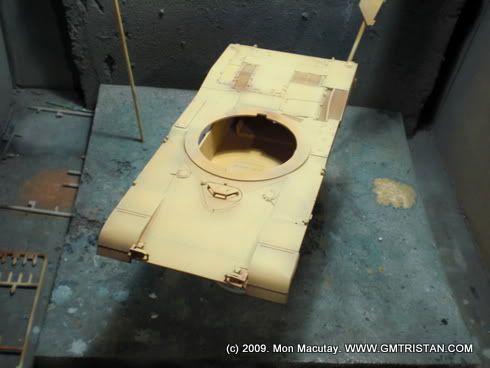
Notice how the panels and the preshaded areas are slightly darker. That’s the effect that I wanted to achieve. So far, so good. The only thing left if for this to dry overnight. The next day, I apply a thin coat of Johnson’s Wipe and Shine (unthinned). This is equivalent to what pro-modelers call “Future”. This protects the model by giving it a coat of acrylic and forming a glossy base for the decals and for the wash.
Don’t worry about the gloss, the wash and weathering will get rid of that later.
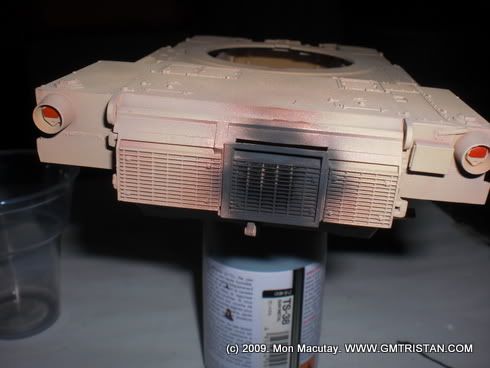
For the hull, I airbrushed a coat of Dark Copper followed by Flat Black on the exhaust port to achieve a realistic exhaust and oxidation effect (thank you, reference photos!). Oh yes, this was done before spraying it with Future. I also hand painted the tail-lights Red and the front lights Silver Chrome.
That’s it for Part 1 of this series. Notice that I finished stage 1 through 7. (whew!) There are 8 stages left.
Next up would be applying the decals and finally the wash. That’ll be exciting.
I’ll be updating and uploading pics ASAP, okay?
‘Til then, keep on visiting my blog…
Peace!